3D Illustrated Floral Backdrop DIY
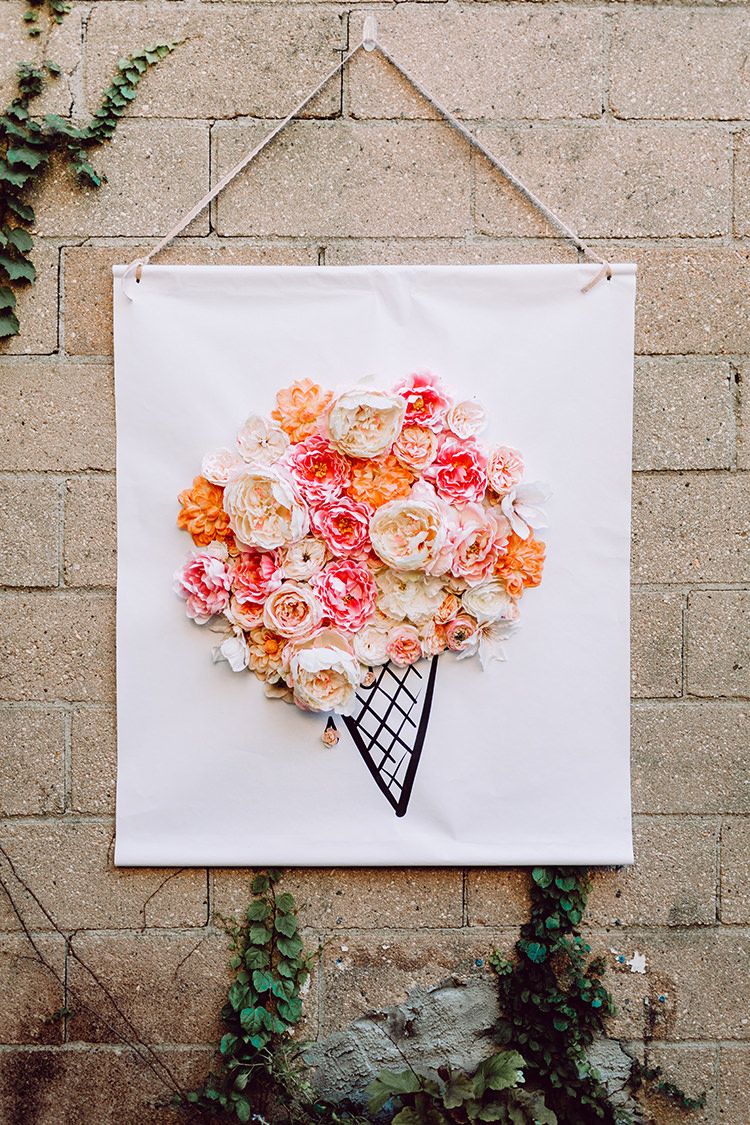
Any day spent with peonies is a good one, amiright? We’re so excited to share this project we worked with our friends at Afloral. It’s fun, flirty and floral, and just what the doctor ordered if you’re in need of a summery pick-me-up! Plus, we got free printable for you, so you’re ready to make yours:

This project requires no previous experience and can be made in a pinch. It’s always fun when the most difficult part is choosing between flowers because you just love them all! Afloral has a wide selection of blooms divided by color and category, so pick the ones that you’re most drawn to. We opted to contrast the black and white template with sharp pops of color, using a mix of silk roses, peonies, ranunculus, clematis, cosmos and poppies in varying shades of coral, salmon and pink.
What You’ll Need:
- Silk Flowers (see recipe below)
- Ice Cream Cone Printable – DOWNLOAD HERE>
- Hot glue gun
- 3/4″ Wooden dowel
- Rope or ribbon for hanging
Best Day Ever printable – DOWNLOAD HERE
Flower Recipe
To create, simply download the illustration of your choice and have it printed at your local print shop. Typically, you can order online with the image file and pick up in store once complete. The dimensions we printed on were 36×48″ and the downloadable templates are made for this scale.



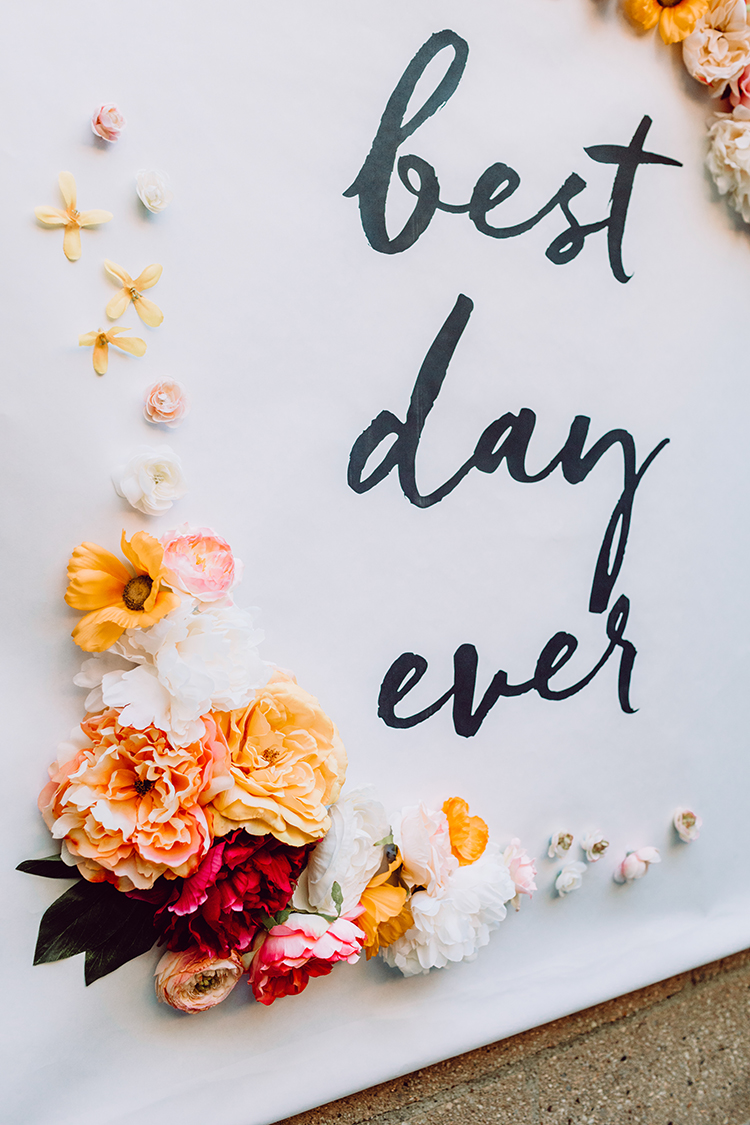


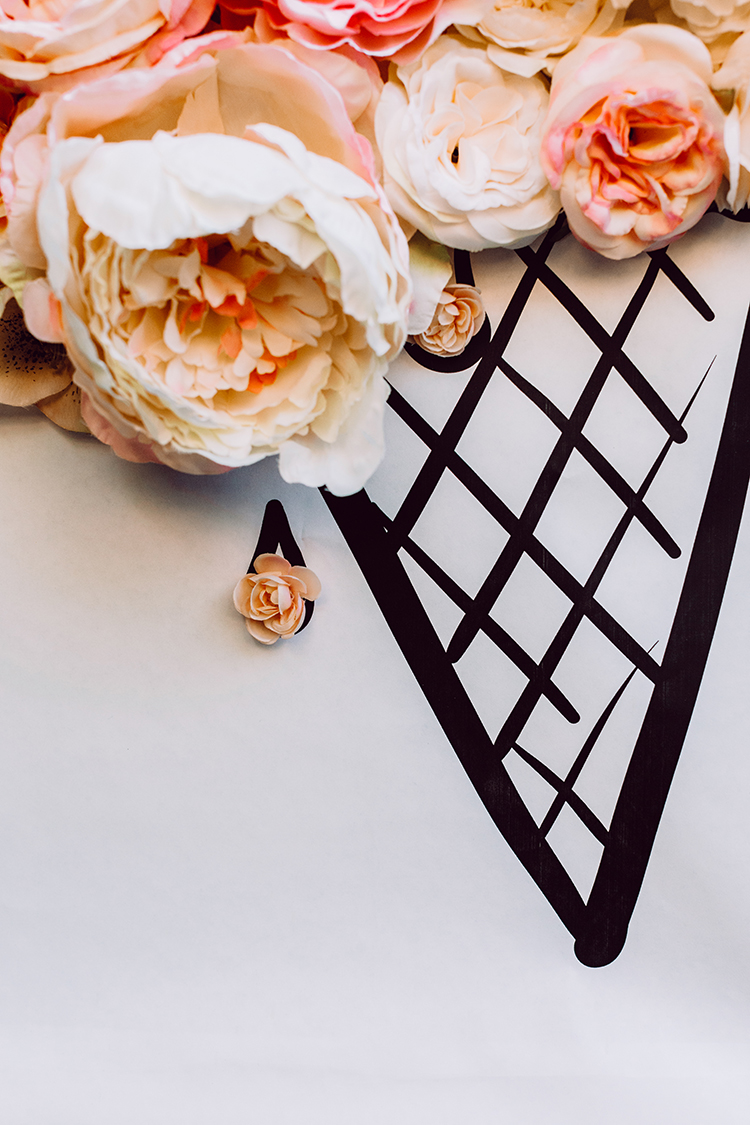


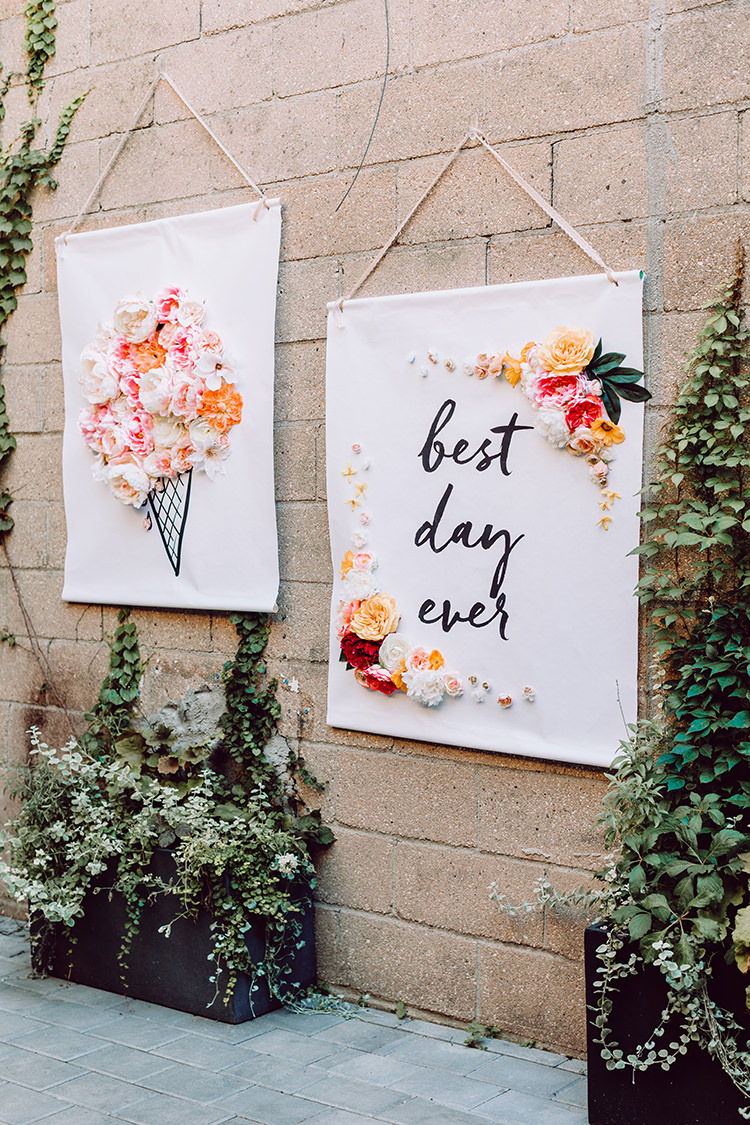


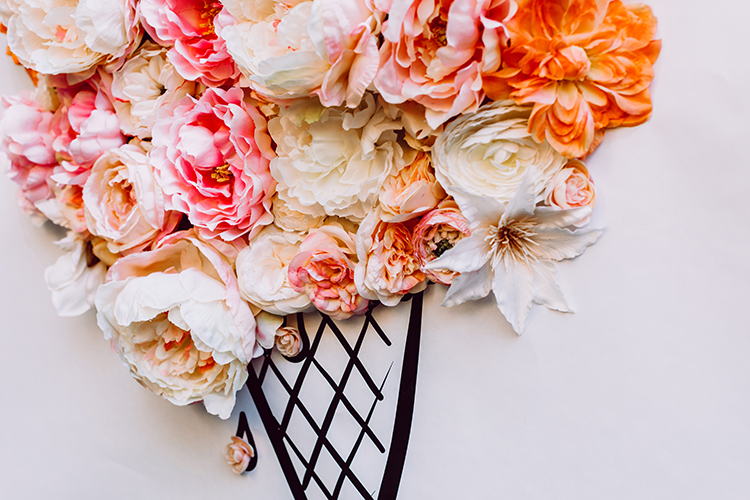

Once you’re in your workspace, hot glue the silk flowers to frame your quote or complete your illustration as if playing paint by numbers. Best to put thicker flowers towards the center, letting the smaller petals drip towards the edges.
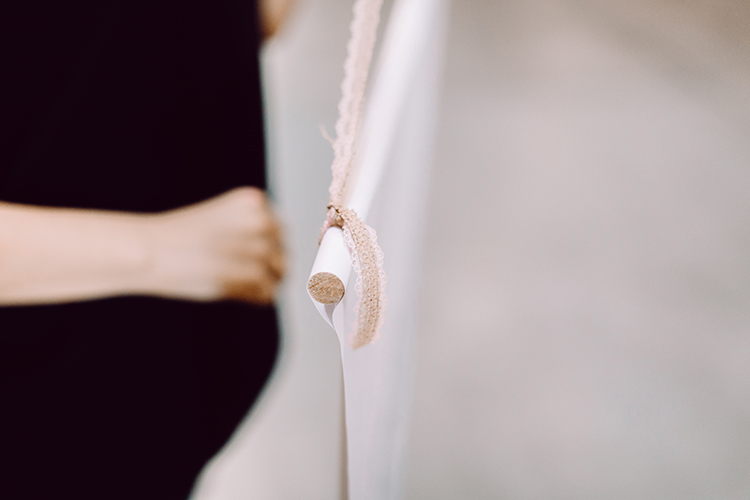
Once you’ve completed the print itself, add a rod pocket to the top and bottom to anchor the backdrop. Punch two holes into top edges of the print, and affix the print to the rod with a thick string for hanging. Now you’re all done and you can enjoy your colorful new design over and over again.
Kenny from Aurora Cinema has even dished out the cutest video to walk you through! So enjoy the visual magic below and start brainstorming the illustrations you want to “wow” with.
This post was sponsored by Afloral. Thanks for supporting our sponsors!

Ohmygosh, these are such a cute idea! LOVE the ice cream cone florals!!!