All The Reasons We Love Cheesecloth for Weddings and a quick DIY with Rit Dye
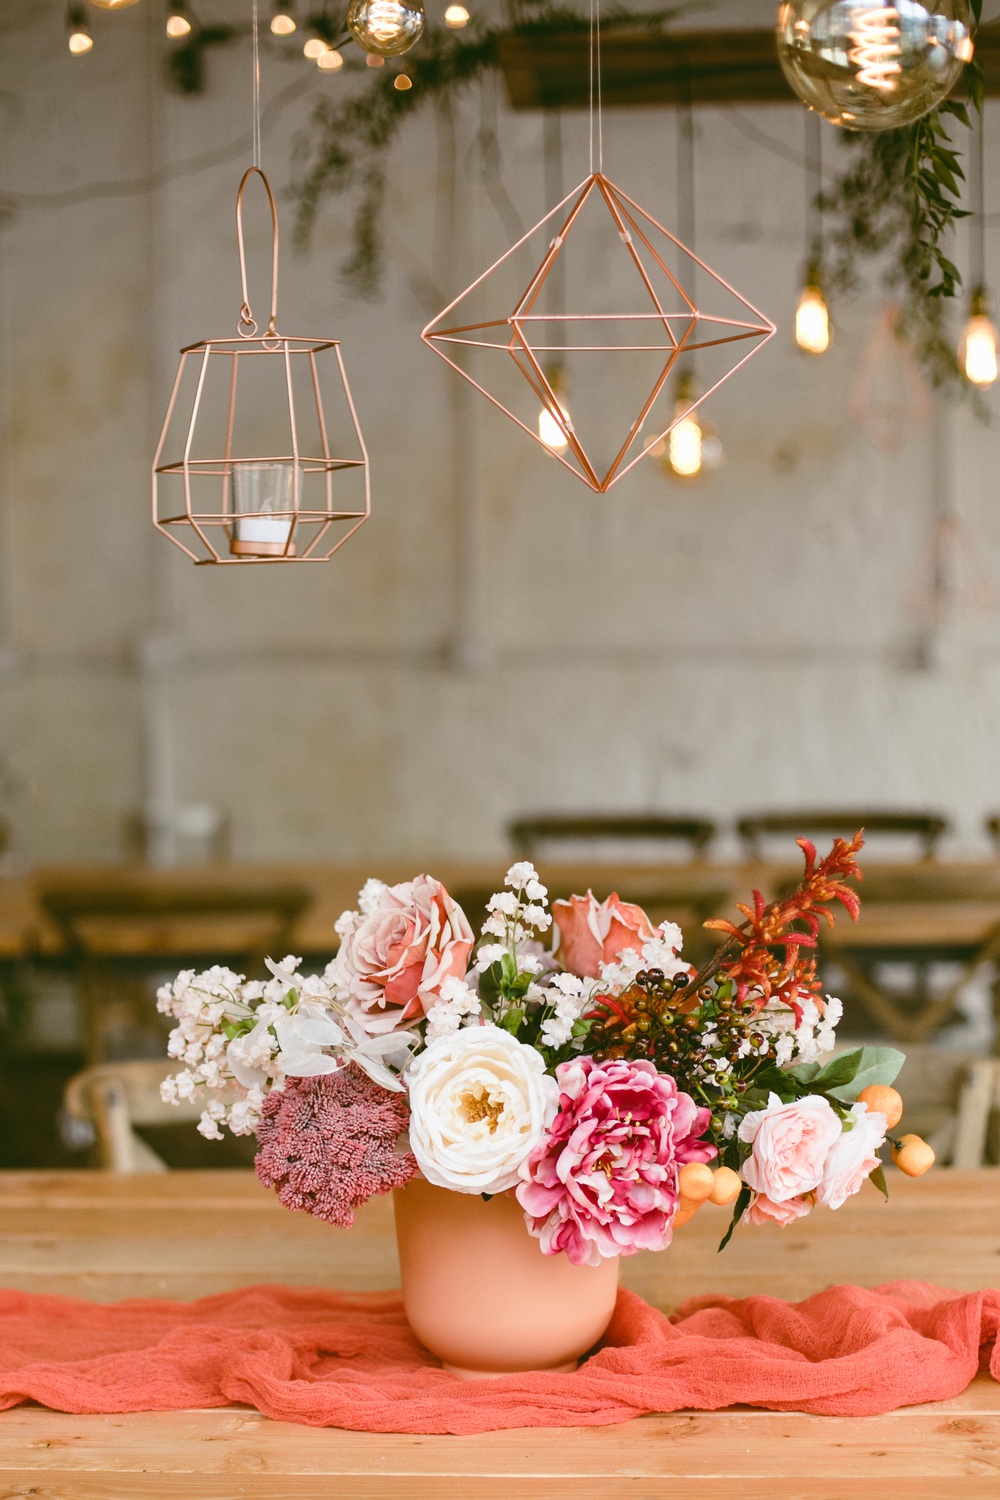
Sound the alarm ’cause we’re crazy in love with this caramel-hued cheesecloth backdrop using rich dye and silk flowers. We partnered with the fabric dye pros at Rit Dye to achieve these warm autumnal hues, and you’ll never believe how easy this was to make. Seriously… cheesecloth or bust for quick and easy dye projects!

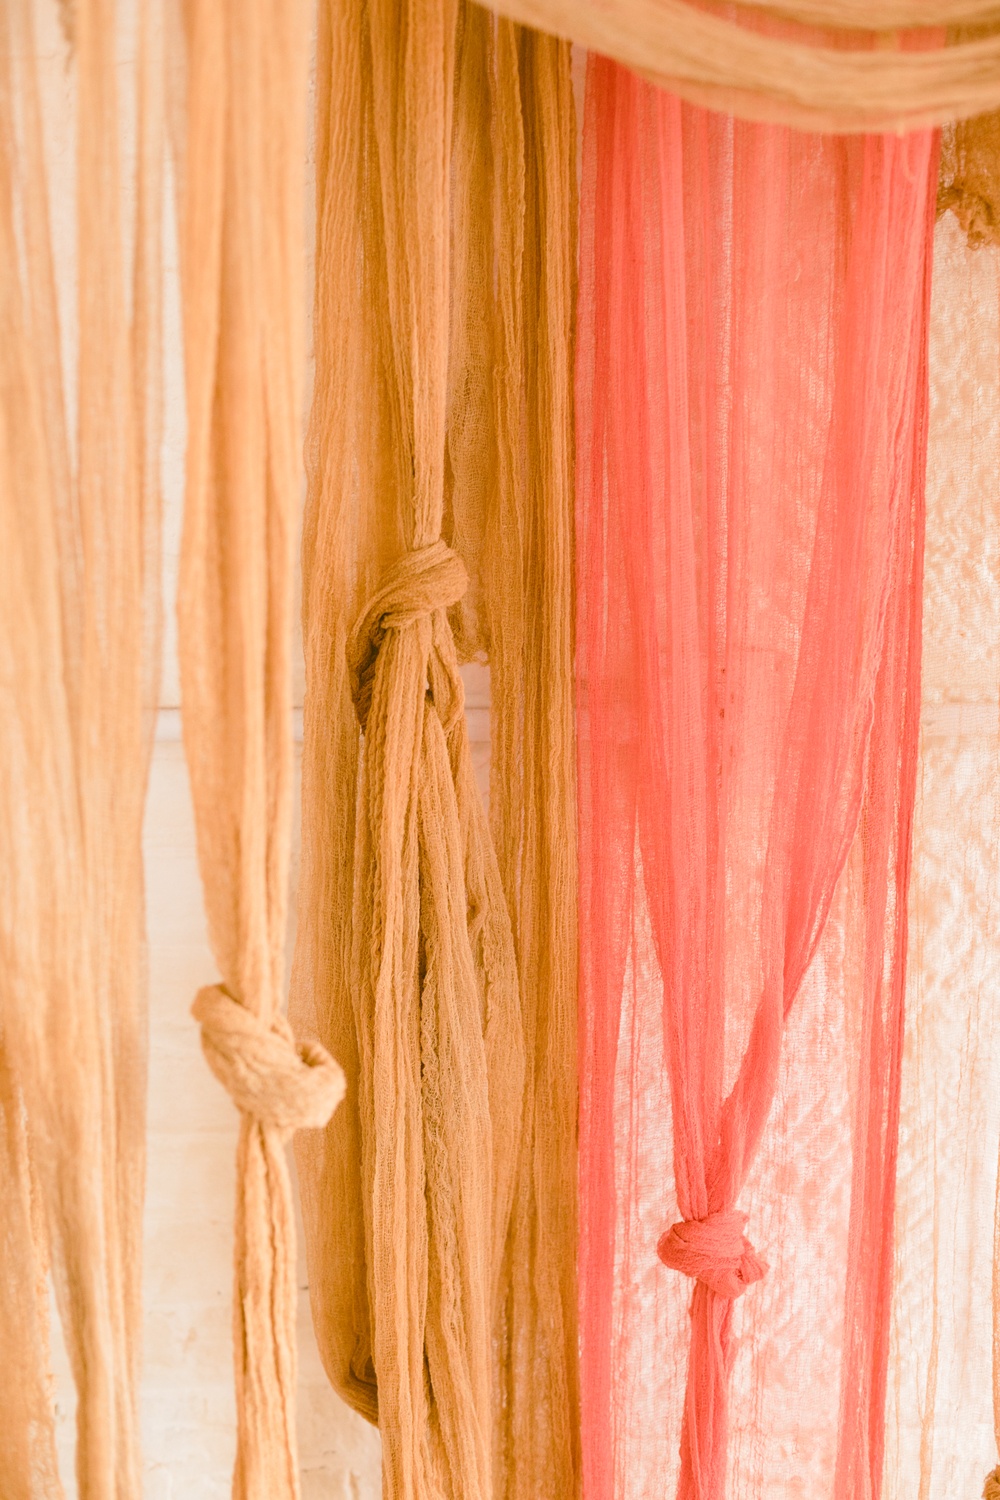
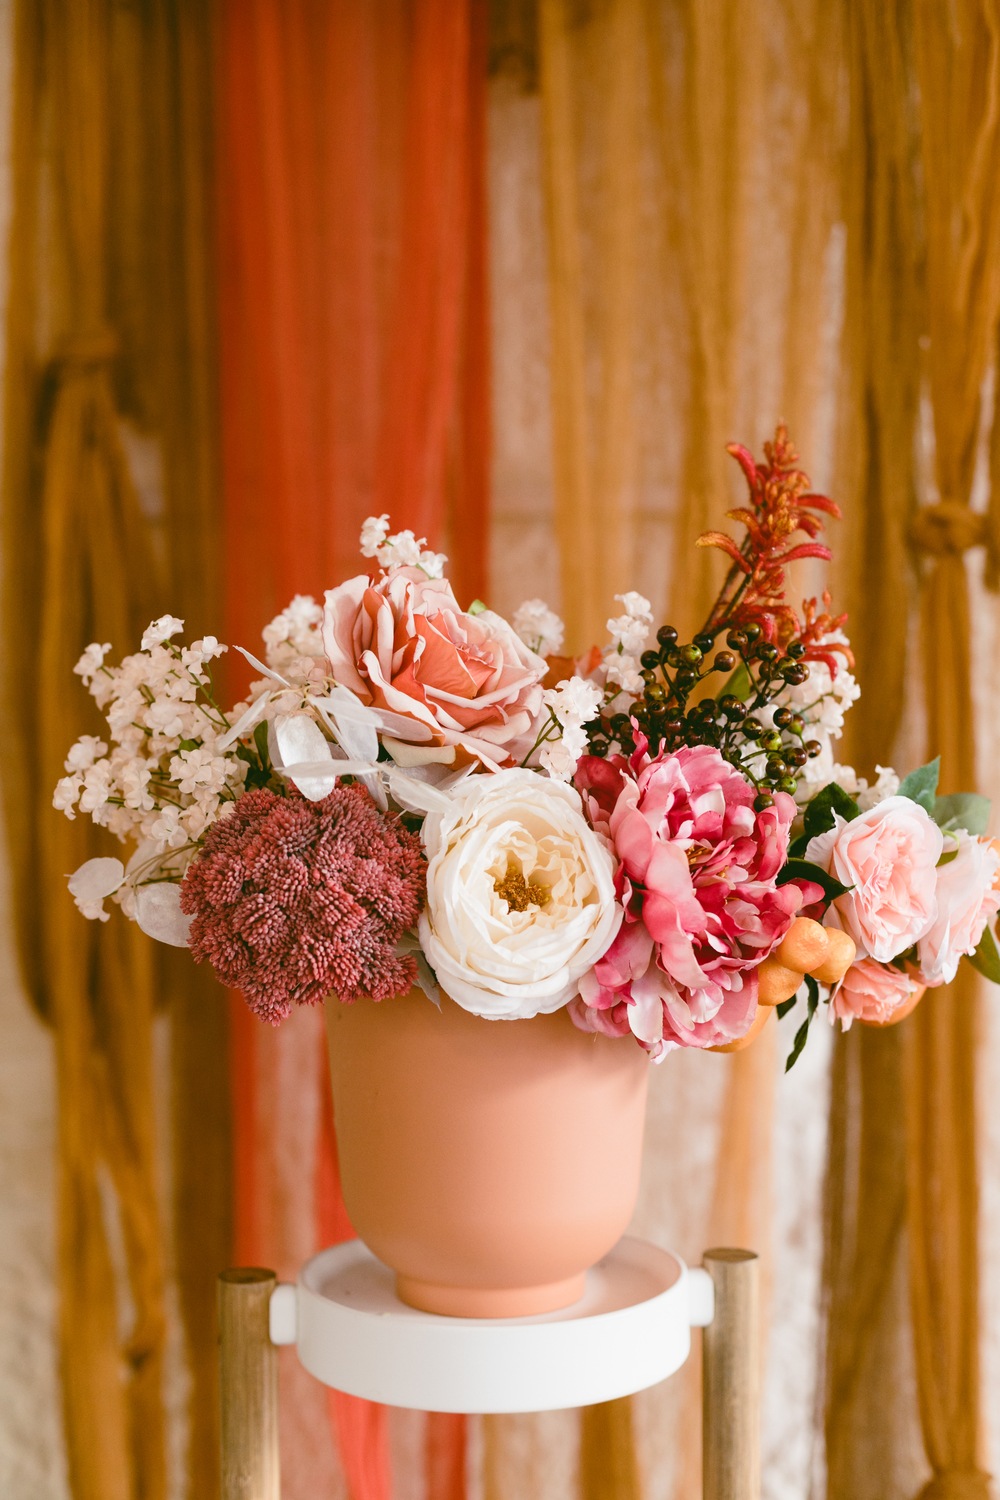
What we love about this backdrop (besides the ease) is the fact you can make it your own. Want thicker fabric panels for a more color blocked look? Go for it! Prefer more knots or thinner ribbon-like fabric strung across? Be our guest. There are endless ways you can spice up these fabrics for whatever you intend and endless color combinations from Rit Dye that you can experiment with too. Over 500 color combinations are possible, and they’ve already done the homework on formulas for you. Check out some of the pre-made dye colors here!
Tbh, this just might be the most fun you’ll ever have in the DIY “office”, so let’s get down to business, shall we?
What You’ll Need:
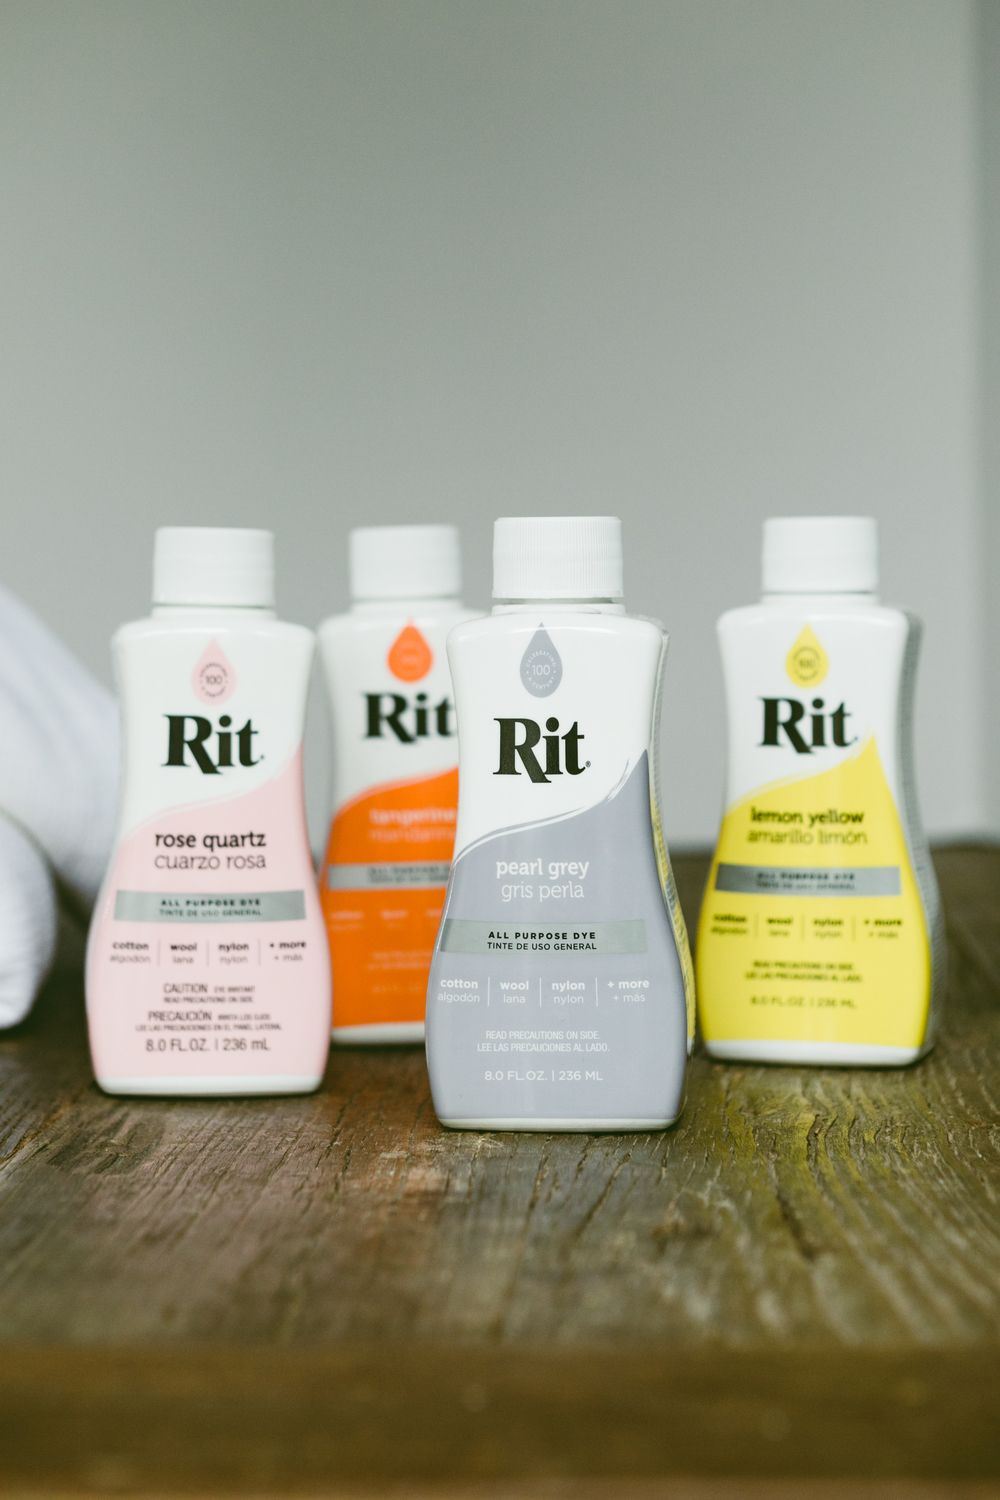
Now there are a few different methods you can use to dye – stovetop, washing machine, microwave… I opted for the sink and bucket technique since it’s one of the best methods for experimenting with custom colors. 100% non-toxic colors might we add!
First, you’ll need a large plastic container or bin to be filled with enough water for the fabric to move around freely in (at about 140 degrees Fahrenheit). Be sure to wear rubber gloves to protect your skin during the process!
Add 1 tsp. of dish detergent to the water in the bin, as this will help even out the dye on the fabric, and then begin pouring in your dye using the formulas here.

I started out using the Apricot and Champagne color formulas, then I experimented adding about 1/2 cup more Pearl Grey to the Apricot orange for that darker caramel tone you see.

You can test the color using a paper towel before you go all in with your fabric, so I’d definitely recommend this step.
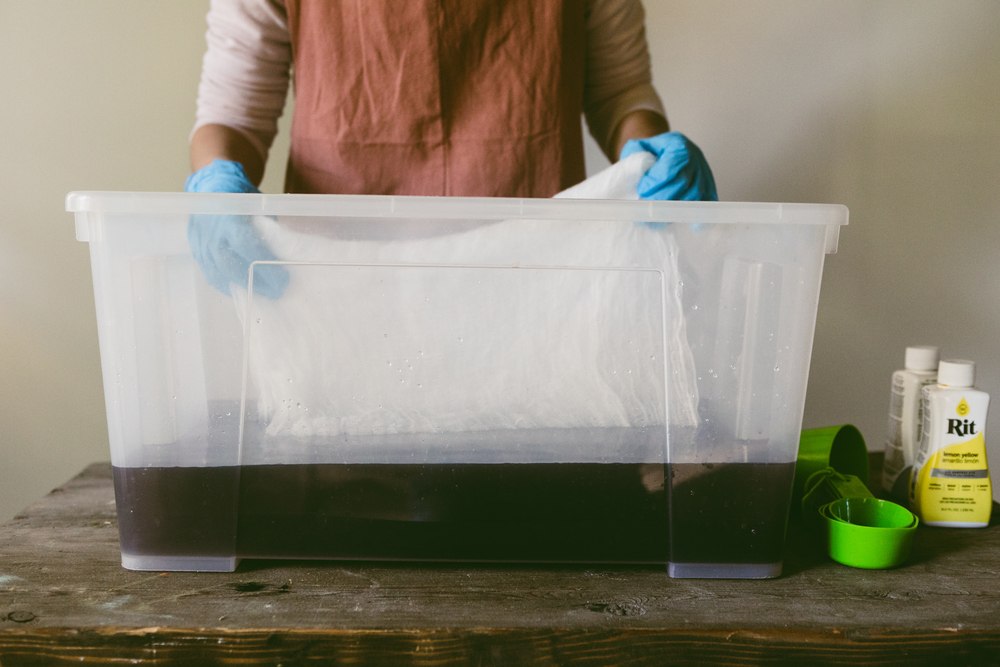
Next, I wet the cheesecloth completely with tap water and then immersed it into the dye bath. I used 50-grade cheesecloth (the thinnest of the grades) to achieve that gauzy, sheer look which has organic wedding written all over it! If you’re looking for a thicker, more fabric-like effect, I’d recommend something like a 90-grade cheesecloth.
I made sure to stir slowly + continually for 10 minutes because if you leave it, your final product may end up a little splotchy. Next, stir on and off for 5 minutes at a time after those first 10 minutes, as stirring helps even out the dye across the board.

You can leave your cheesecloth to sit in the dye bath between 10-60 minutes, and once you glimpse the color you like, go ahead and remove it from the bath. Keep in mind that when wet, the cheesecloth will appear a little darker than how it will once dry.
Next, squeeze out any excess dye and rinse in cool water until the water becomes clear.
The final step is to wash in cold water with a mild detergent, then rinse once again and hang to dry.
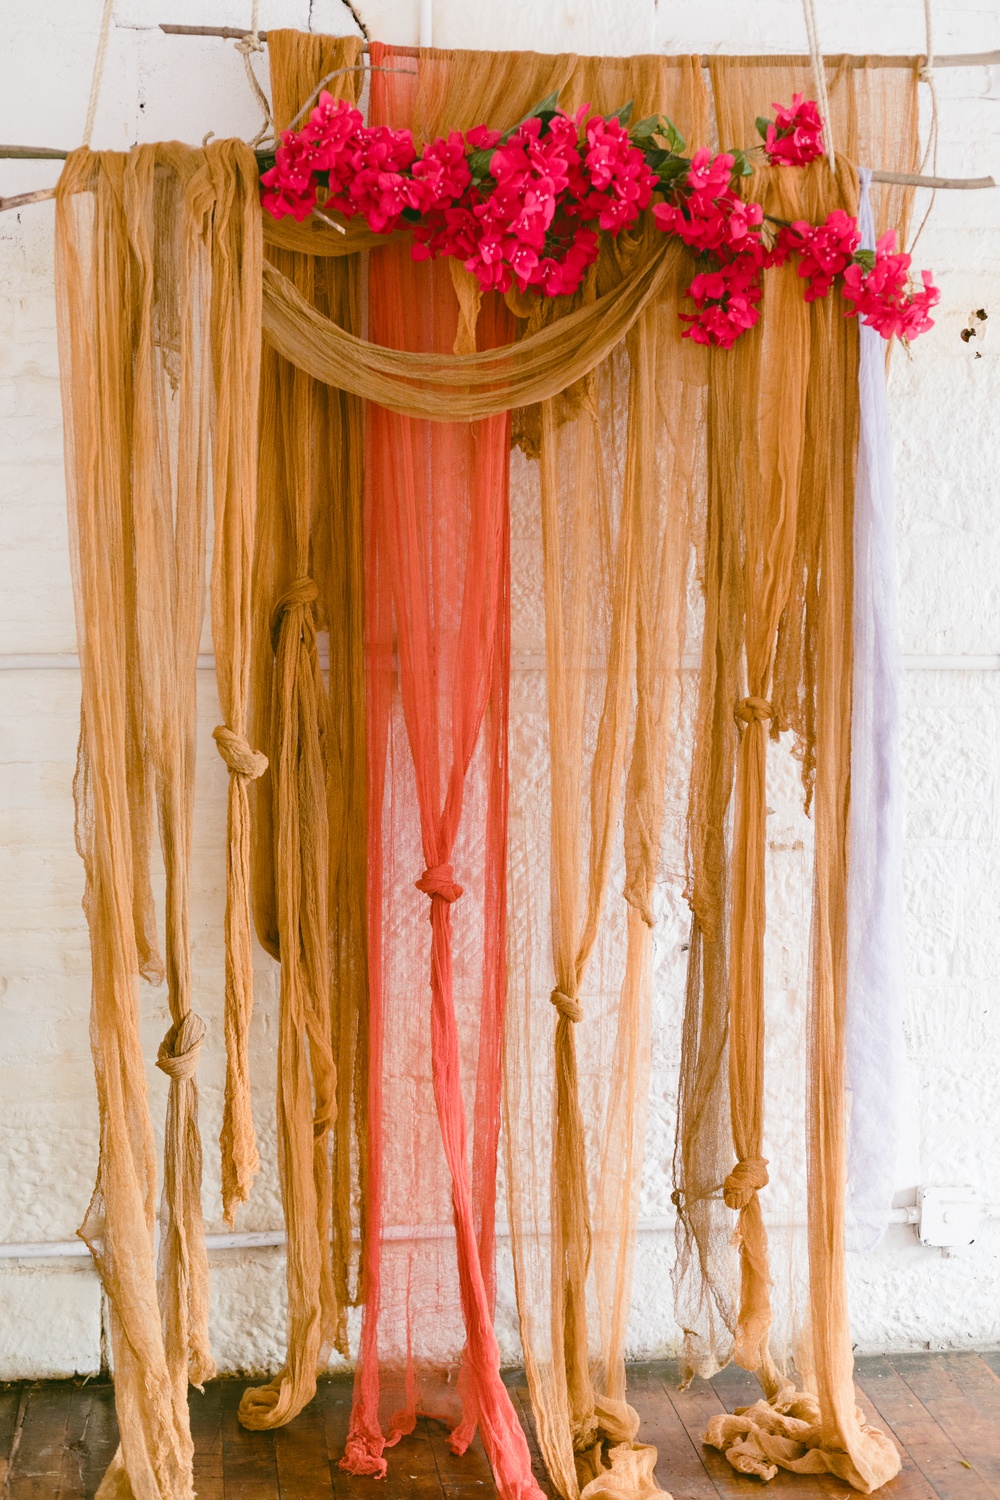
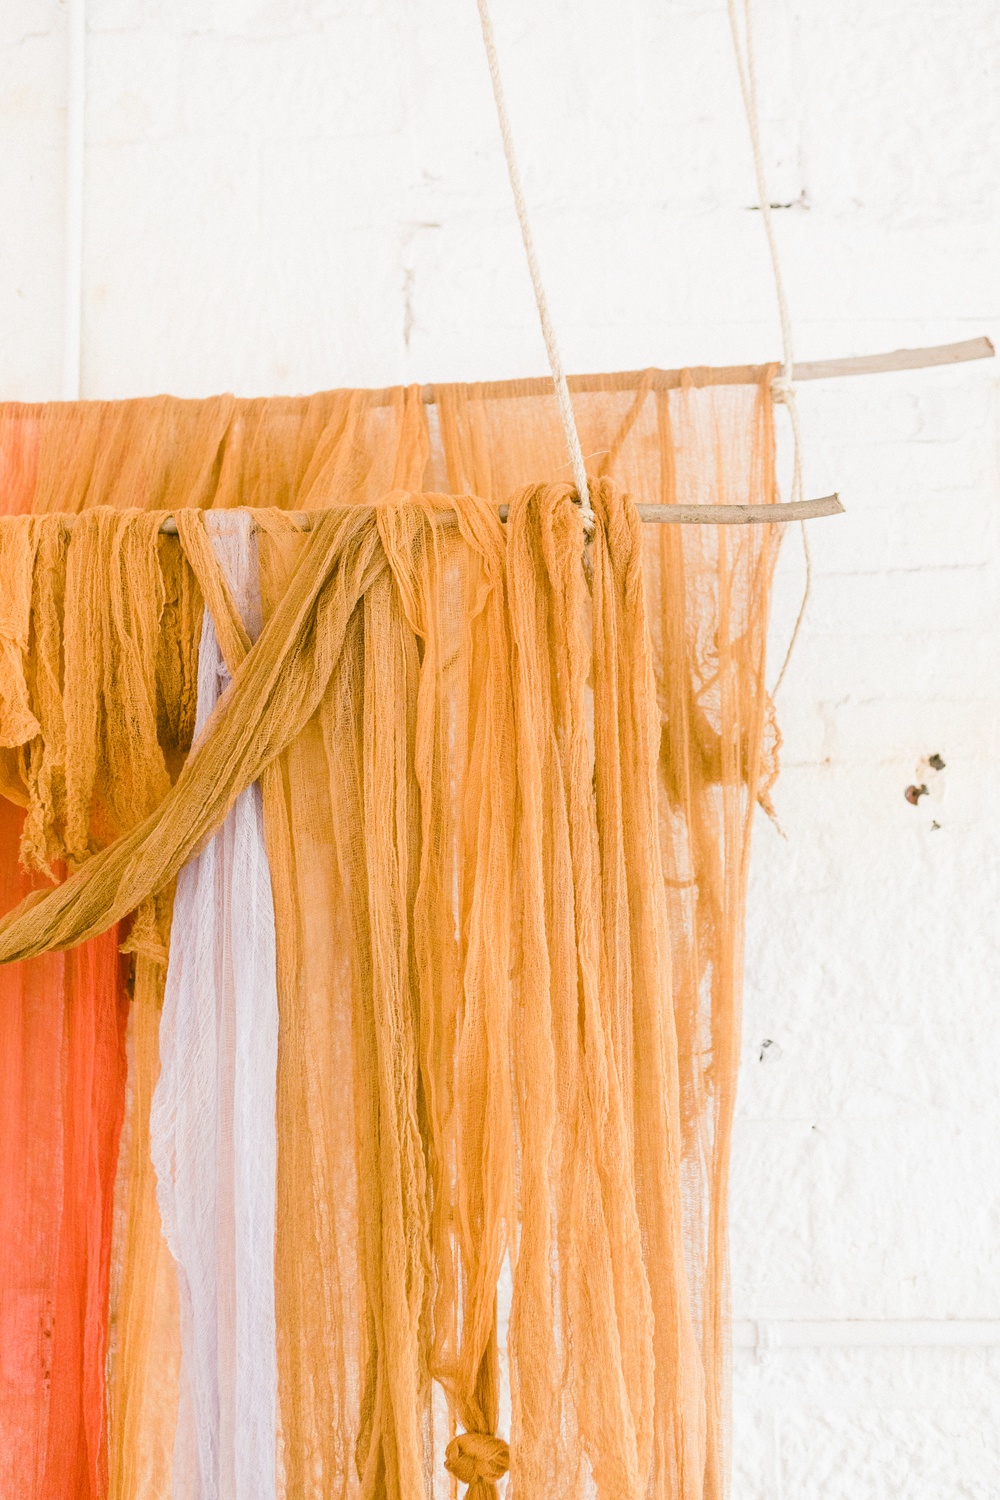
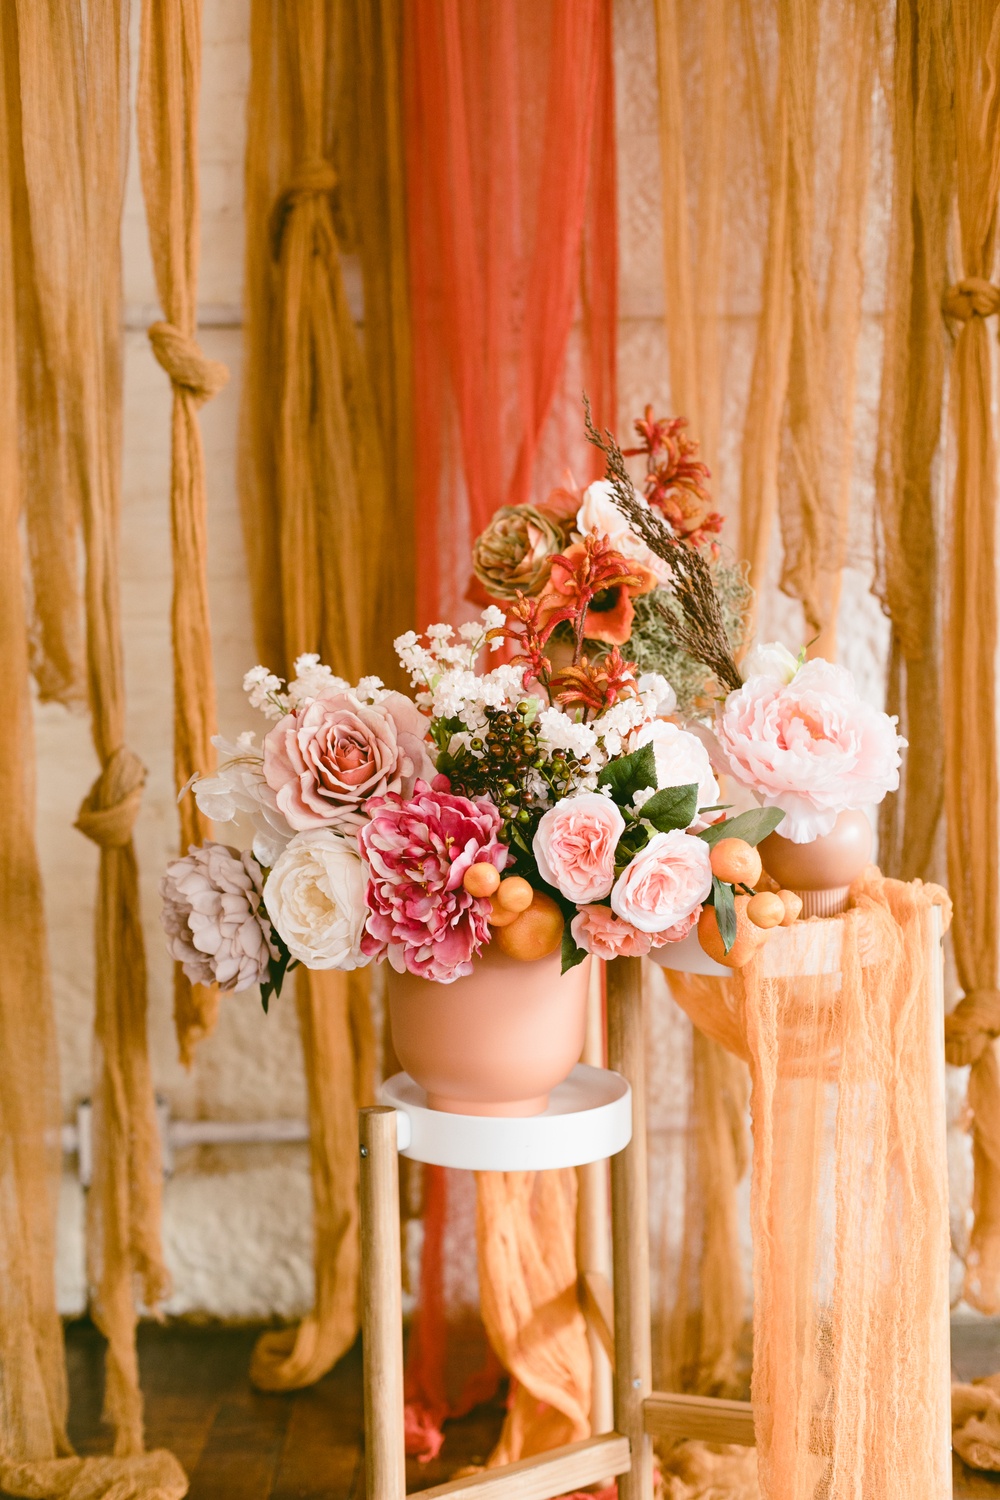
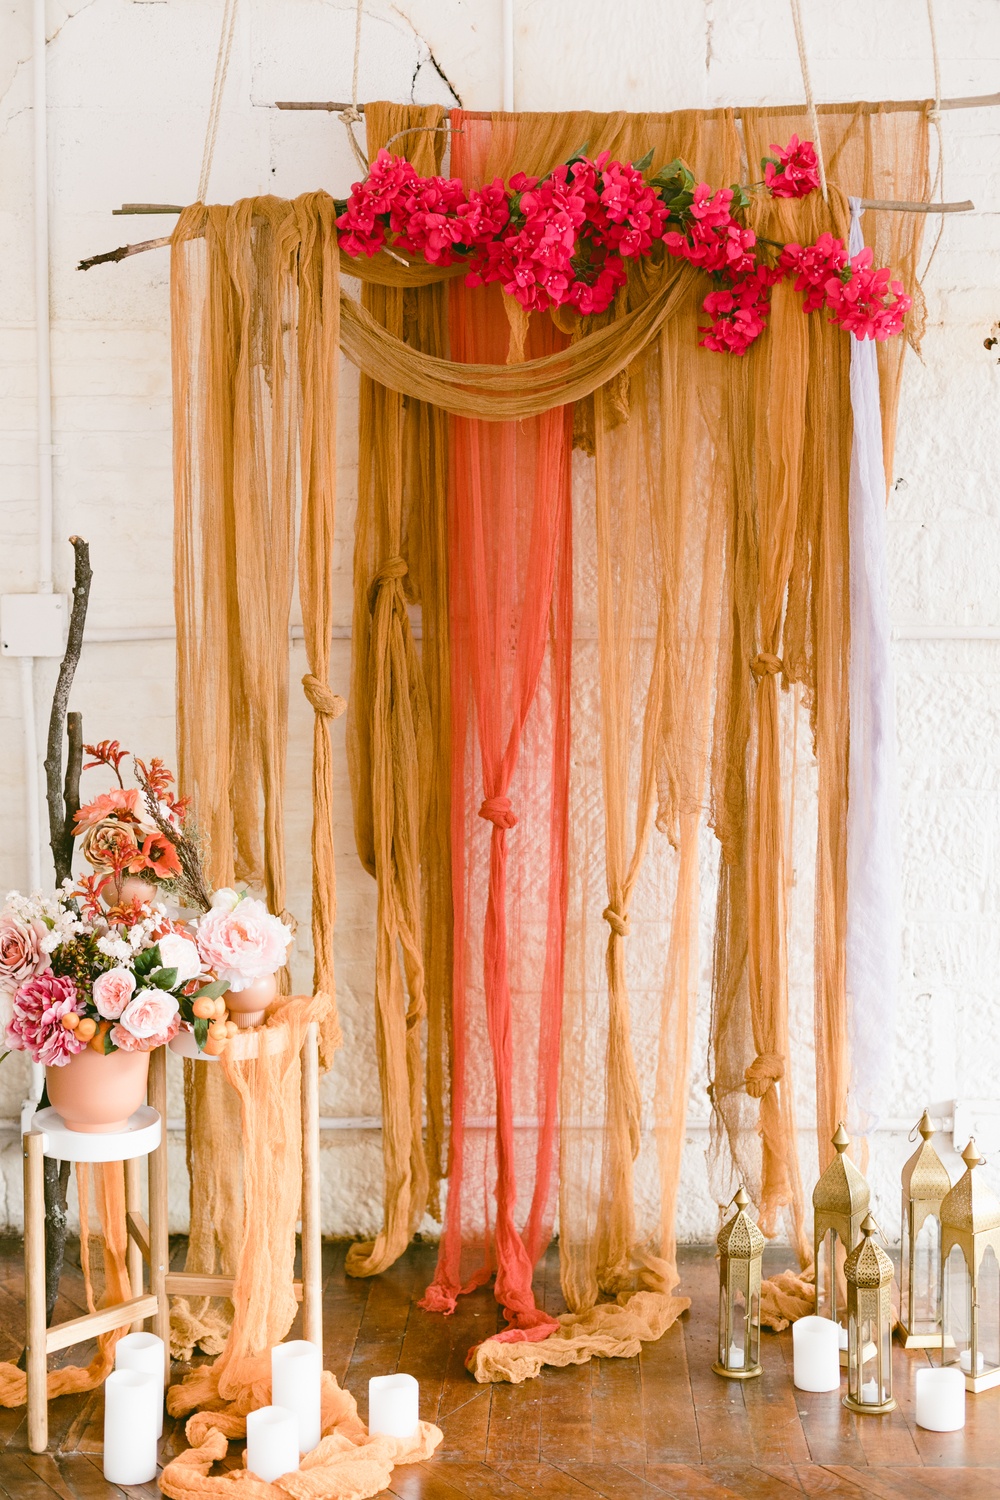
The backdrop itself is dead simple! We used a bamboo rod and thick twine to achieve the desired look and simply draped the cheesecloth over the rod, pinching and pulling at different points so it looked perfectly imperfect. No stiffness here!
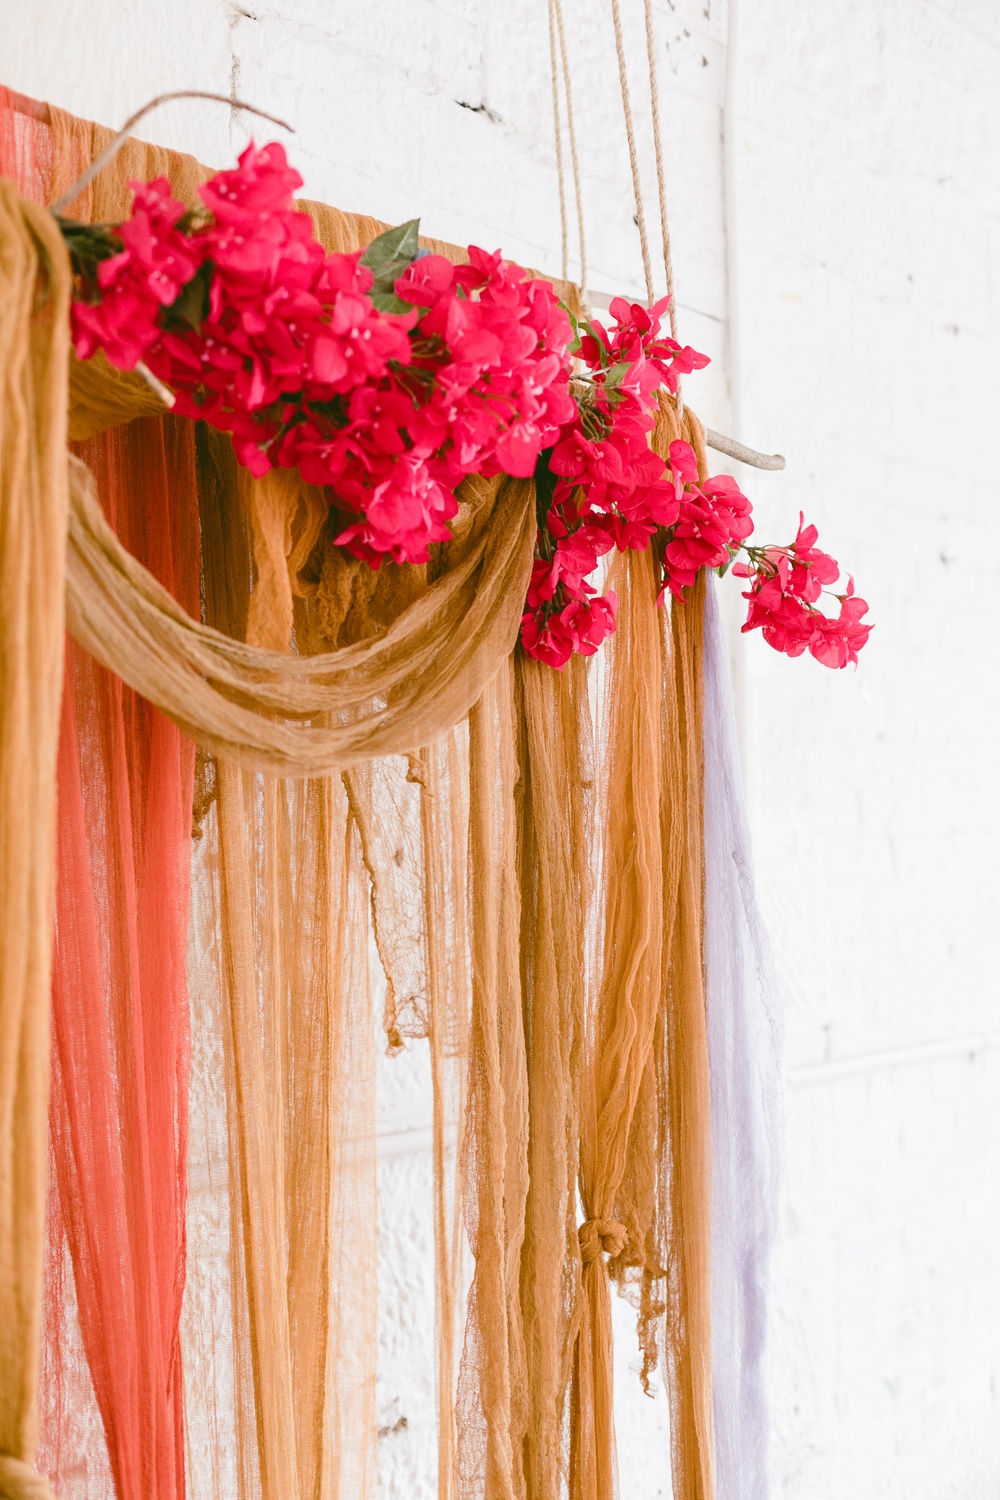
I added some dimension to the backdrop vignette with some silk bougainvillea flowers, a pedestal with a centerpiece arrangement we made a few months ago, and some scattered lanterns and pillar candles at the base.
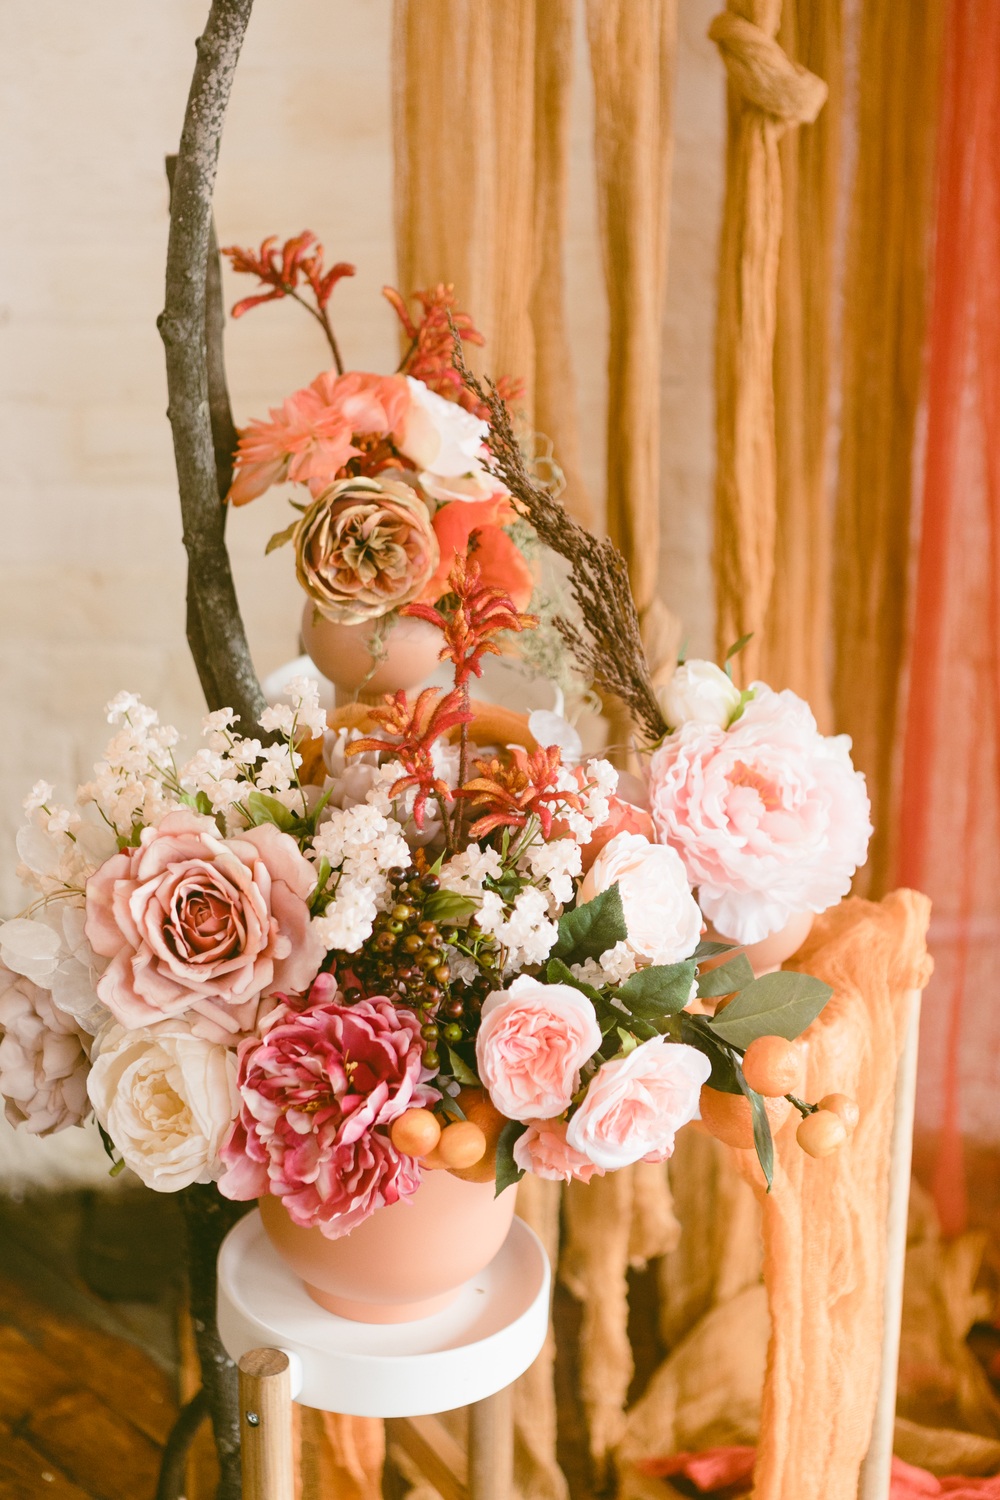
I even got to use one of the leftover cheesecloth panels as a table runner too! Truly, dyed fabric is one of the most dynamic projects you can make, and when there are limitless options for color and use, there’s no reason not to try it. Whether it’s a backdrop, a runner, a draped ceiling install or trailing bouquet ribbons – we can’t wait to see what you dream up using these Rit Dye colors. Check ’em out today!
