DIY Wood Transfer The Easy Way

Let’s just put it out there, our love for pretty packaging is borderline obsessive. Our appreciation for neatly creased gift wrap around a box, pretty bows and tags knows no boundaries. So naturally, a DIY project for a pretty wooden tag was in order. But this is isn’t just a tag – it’s an ornament, too. It’s been a hot minute since we put away our Fiskars tools, so I was ready for another project!

Read on below – this wood transfer DIY ornament can be used in so many different ways. Here we even added table numbers using photos and illustrations for tags, but there’s nothing stopping you from making tags using your own photo memories!
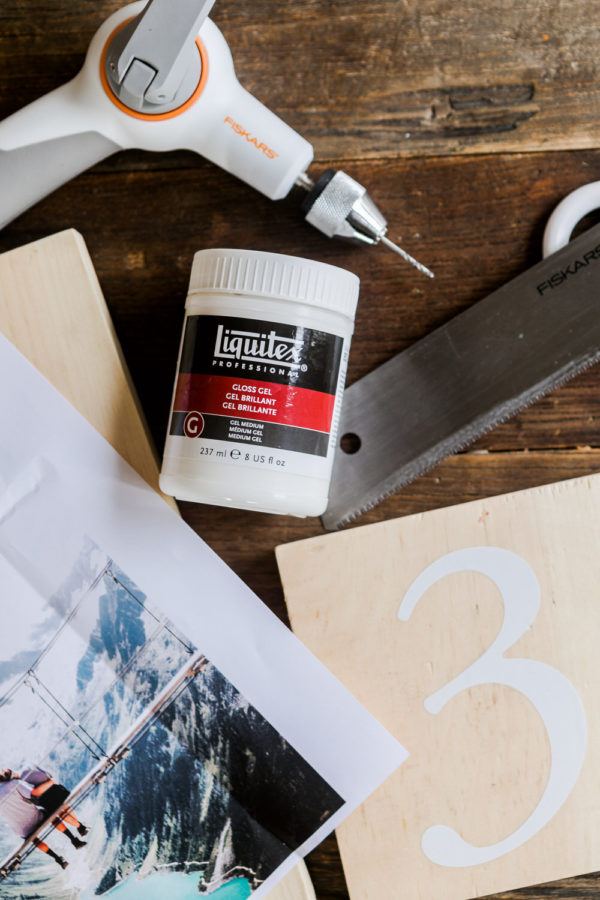

What you’ll need:
- Fiskars Precision Hand Saw
- Fiskars Precision Hand Drill
- Scrap wood and sanding paper
- 4 inch wood rounds
- Liquitex Gel Medium
- Foam brush
- Alphabet and number stickers
- Soft bristle toothbrush
- Laser-print copies

DIY Wood Transfer Table Numbers
Using scrap wood, I cut a square length of a 1×6 using this Hand Saw and sanded the edges and surface. You’ve problably spotted this hand saw a few times in our DIY projects this year and it’s easy to see why. Its compact size and easy-to-use design featuring a thin yet powerful blade allows you to cut through wood, dowels and more with little effort and with the precision you need.
Place a number sticker once you’ve your wood pieces cut and sanded before applying your image.


Lay your image over the wood, positioning according the to number stickers. I creased a fold around the edges once I was happy with the placement, making sure the couple wasn’t covered by the sticker before applying the gel.
Wet your foam brush before dipping in the gel and apply the gel medium thoroughly and thinly across the wood plaque.
After it dries, wet a soft bristle toothbrush and gently and in circular motion start removing the paper. Remove the sticker after you’re done.

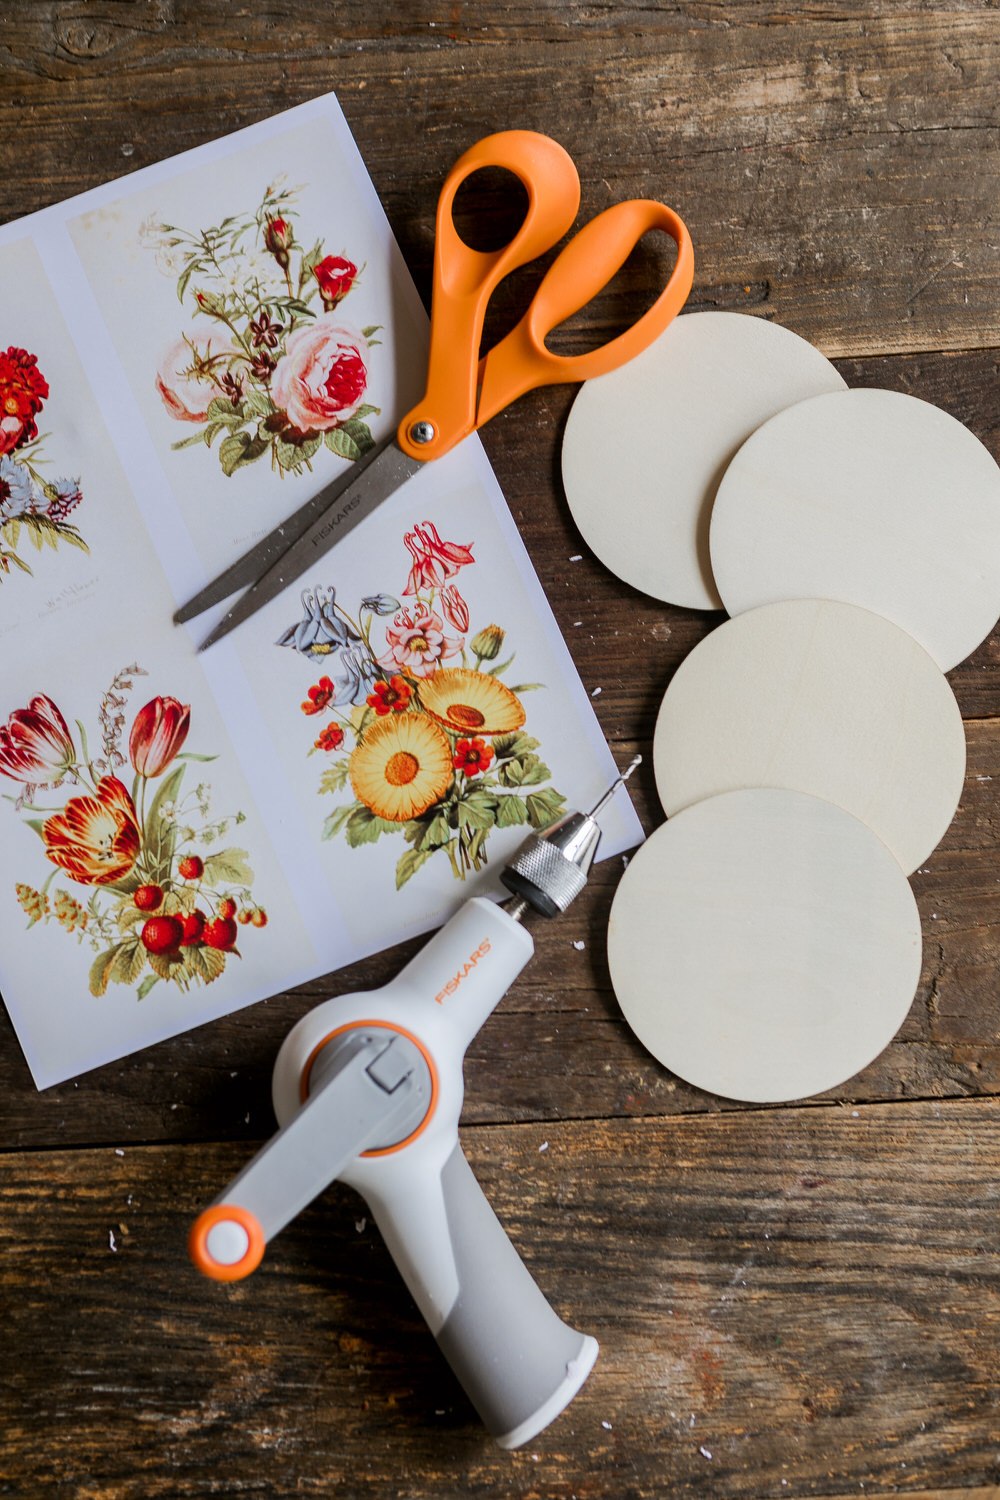

DIY Wood Transfer Tags
Oh, this must be my favorite project ever. I’ve been wanting to use these beautiful botanical illustrations from The Biodiversity Heritage Library and this DIY wood transfer was the perfect project. It’s a free and open access library for biodiversity literature and essentially a treasure trove of beautiful botanical illustrations, most from 1800s.
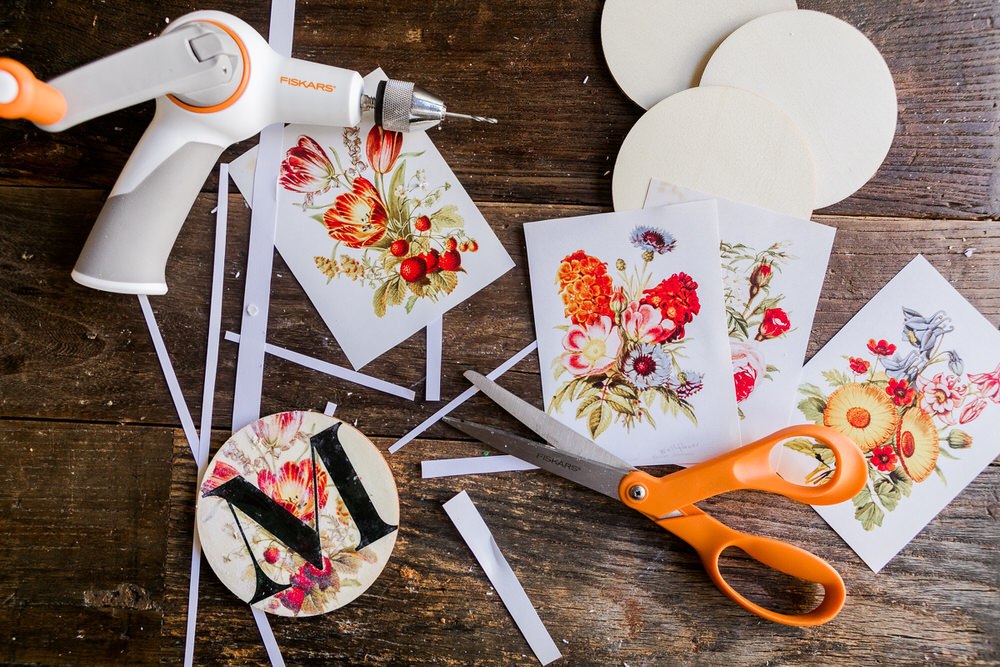
I was originally going to remove the black letter stickers, but they looked great with the colorful background! Since the stickers were put on before I placed the prints, the prints were still subtly visible on the matte black vinyl, which looks even prettier in person.
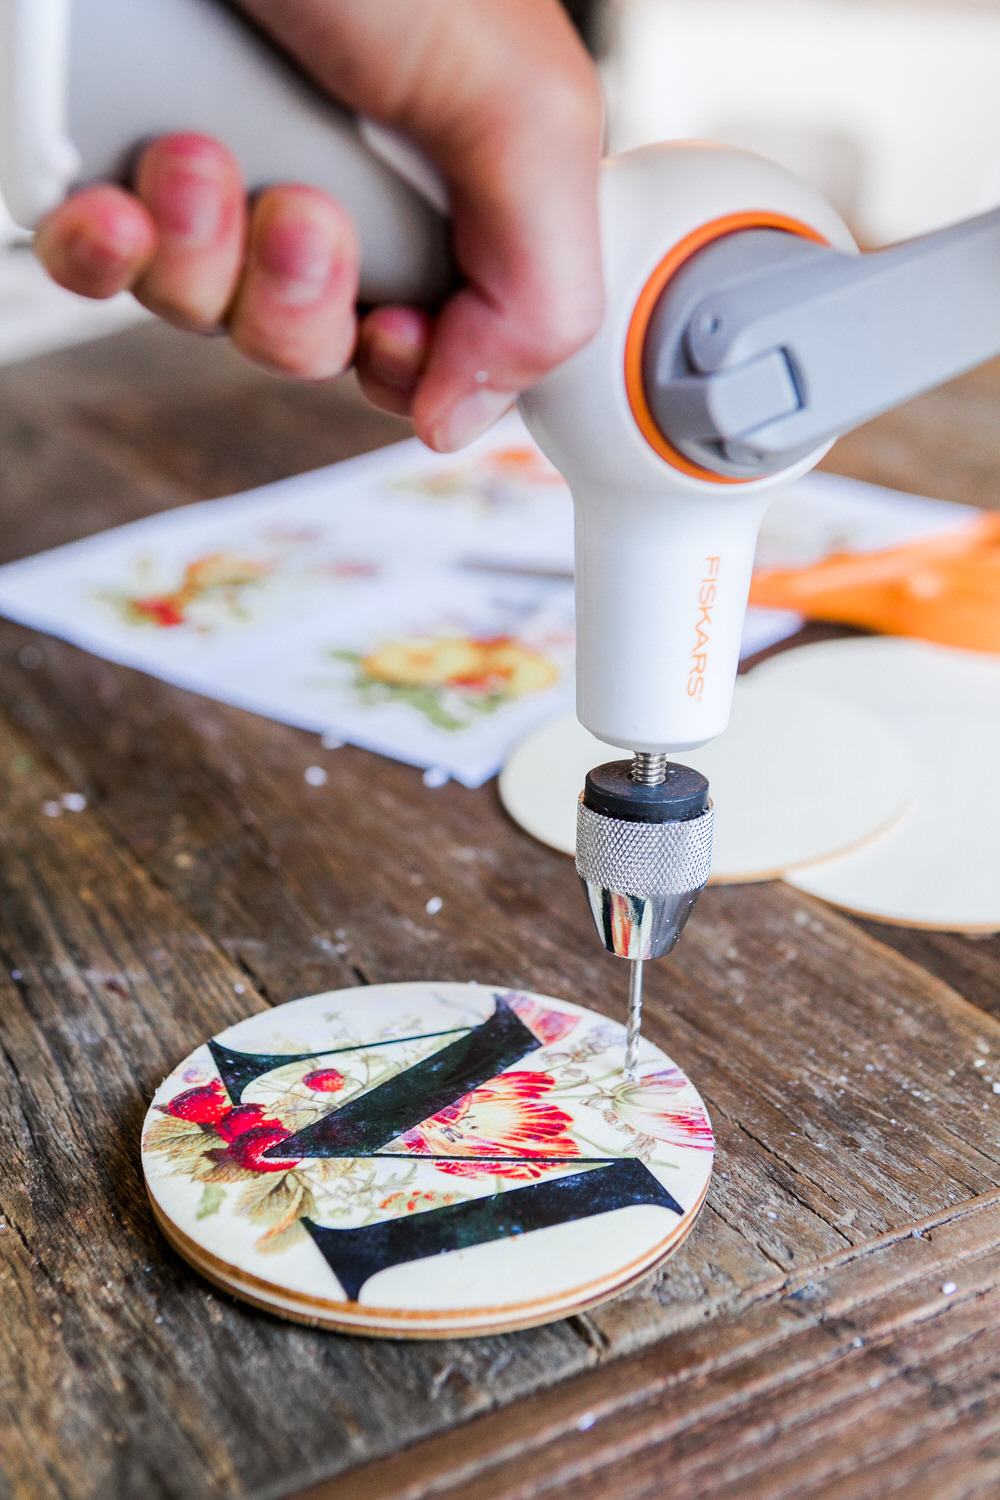
After my tags were ready, I used Fiskars Hand Drill to make a hole at the top of each. Small but mighty, this hand drill has been my favorite DIY tool. It drills through wood, laminates and other surfaces (even drywall!) and it comes with four standard drill bits. Hand crank offers precision without damaging the surfacing you’re drilling on, and the keyless chuck allows for easy bit changes.

This post was sponsored by Fiskars. All opinions are our own. Thanks for supporting our sponsors!